Plastic body fillers have come a long way in recent years, but there are still jobs that are best done with a good old-fashioned dose of lead.
For some time, it looked as though lead loading was a dying art. Concerns over health and safety combined with a great leap forwards in plastic filler technology seemed to banish lead from mainstream bodyshops and confine its use to a few classic workshops who were keen to recreate the original production methods on their projects. But recently it has been enjoying something of a revival in the wider trade as its virtues have been rediscovered.
The 3 Main Benefits of Lead Loading
– Suitability for deeper fills
– Greater durability
– Remains malleable
meaning, lead loading is ideal for finishing joints such as at the tops of rear quarter panels on today’s thin metalwork, the extra time spent in the application paying dividends in the long run with a repair that won’t sink, crack or absorb moisture.
You’ll Need to Practice
As well as being laborious to apply, lead loading is a skill that takes practice to master. For one thing, you are applying lots of heat and this can cause more damage through distortion if you get it wrong.
What tools do you need?
You may have access to an oxy-acetylene torch, but this is very fierce and the heat is very localised. It can be done if you keep the torch moving and this can be a quick way of lead loading, but it takes a lot of practice to master. A plumber’s blowtorch is better, not least because it gives a wider flame and this is what most people will use. Alternatively, if you have access to a powerful hot air gun this will be slow, but it is a great way of learning the craft.
And if you are new to the leading game, then there is a sound argument that it is better to spend two hours putting on the lead and filling it flat than to spend 15 minutes applying the lead followed by three hours coping with panel distortion.
Before doing anything, make sure your panel can be soldered.
How to Determine If a Panel Can Be Soldered?
STEP 1: remove all coatings from the surface to bare clean steel
STEP 2: heat the area with a propane or MAPP gas torch
If the panel sinks as heat is applied, it should not be soldered. The way the panel reacts to heat indicates the stresses that were imbued into the metal when it was manufactured. Exposure to heat can actually produce stress fractures in some steels, so be sure to only use a sufficient amount of heat to melt the solder.
Avoid soldering perforated panels because the flux residue on the back of the metal will cause accelerated corrosion. This problem usually shows up as a swelling in the repair area a few months or years later as the forming rust underneath expands. For this same reason, seams that are only partially welded should not be soldered. Seams should be completely welded to prevent acidic flux residue from becoming trapped.
Lead Loading Course
Interested to know more about lead loading, why don’t take a quick course?
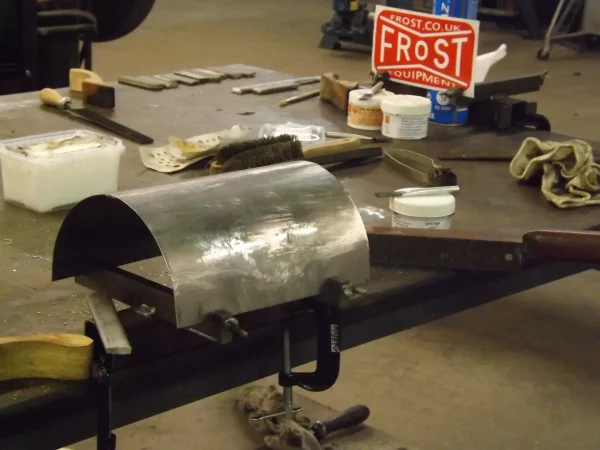
In 2015, Frost Auto co-operated with Gilbert Michaelson at IK Classics for their one day Lead Loading Course. The result was great!
The course covered the process of lead loading or body soldering as traditionally used in car body construction and restoration. It provided practical instruction, demonstration and hands on experience and cover:
– The advantages and disadvantages of lead loading
– Health and Safety
– Materials and tools
– Surface preparation
– Application of lead loading on horizontal and vertical surfaces.
– Filing, finishing and protecting lead loaded body panels.
Below are few pictures of the course.