How To Replace a Rusty Mustang Rear Quarter Panel
HOW TO TECHNICAL GUIDE
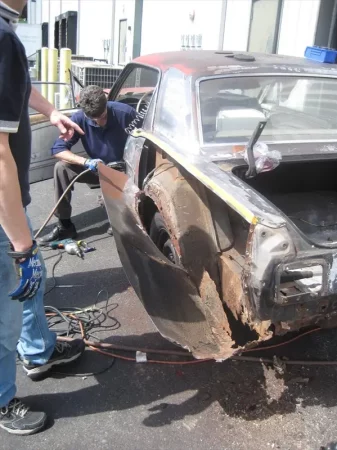
This may look all too familiar to any vintage Mustang lover; a rear quarter panel and inner wheel arch replacement. We figured that there was no better way to test one of our new MIG Welders than to do a common task many of you would be doing with your mig. Never a fun or quick job, but often times necessary, as they seem to always rot from the inside out. During this process, I decided to shoot some photos along the way, and document some products that made this job a lot easier.
First task when doing this process was to expose any and all factory spot welds and brazes. We began by using a combination of different abrasive/sanding discs, including our 80 grit flap discs around the seams to quickly expose any weld points on the rear quarter.
Once the spot welds were located, we grabbed the drill and a Spot Weld Drill Bit and went to town detaching all of those old spot welds. Once these were drilled out (this is possibly the least fun part of this job in my opinion), Mark made quick use of the Metal Shears. After a few minutes with the shears, the panel was dangling from the last little bits of original rusty metal and a couple quick zips with the Cut Off Tool, and the cancerous panel was off.
You can see a interesting thing Ford did from the factory in the picture below. They seem to have run the body wiring harness in the rear quarter panel on top of the inner wheel arch. Because of the rust forming between the arch and the quarter, the wiring began to be effected by the corrosion of the metal it was laying on. This surely would have caused a major issue, had it shorted out! This particular problem could have been fixed by mounting the wiring down with some Anti-Corrosion Tape.
Once the old panel was off, we were able to assess the extent of the rust and rot. Luckily, only the inner wheel well and the inner trunk corner were the major areas of concern and we had planned ahead and had them ordered up ahead of time!
First thing was to clean up and straighten any of the seams where the old quarter panel had been attached. Inevitably when removing old body panels like this, some of the attachment points may get a little tweaked. Below you can see Mark is fixing this by using the Hammer and Dolly set. After some more cutting of the old inner wheel arch and the inner trunk corner, we were ready to begin cutting and mocking up the new replacement panels. Using a piece of painters tape, we were able to mask off a nice straight line on the new panel as well as the body of the car so we could cut the replacement panel at just the right spot. Again using the shears, Mark cut the new panel to match. After some minor tweaking, we were ready to call it a day and begin installation the next day.
After a good nights rest (for some of us), everyone jumped right back into it. First thing to do was get the inner wheel arch welded in place. Regardless of how rusty the area was, Mark was able to utilise in the 175 welder and get a nice weld on the arch.
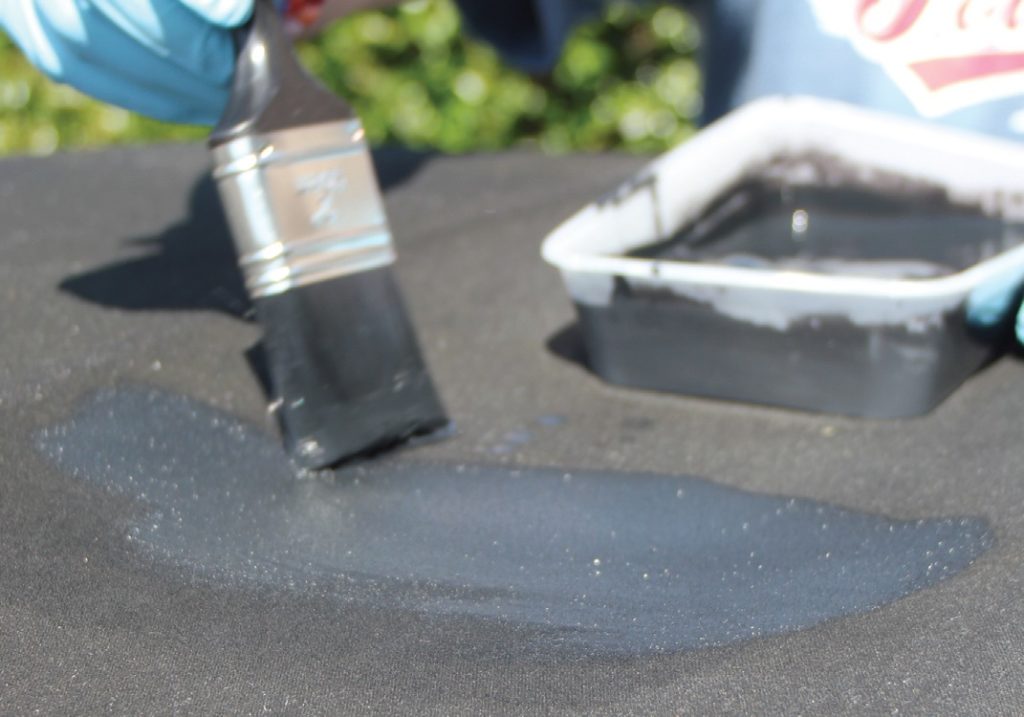
Since the area around the new inner arch was so “scale-y”, we decided to brush on liberal amounts of Rust Converter. You can see in the one picture below a perfect example of converted surface rust. The Rust Converter turns almost a purple-like color once it has neutralised and converted the rust. Neat stuff to watch on such a large surface like this! After lining up the replacement quarter we aligned the panel and clamped it to be spot welded around other portions of the panel. Finally Mark jumped around tack welding the panel to the car, being sure to go from end to end to avoid heating the panel up too much.
Even though this is a test vehicle, we still have pipe dreams of some day fully restoring and painting the “Ol’ Girl”, and it would be a headache to try and smooth out warpage in that large of a body panel. Lastly we treated and spot primed the areas we welded and the car is now ready for our next job on it. Bit by bit this old car may just see the road again sometime soon!
The MIG Welder saved us time and money allowing us to get that project done in a fraction of the time, making that date for the road ever closer!


