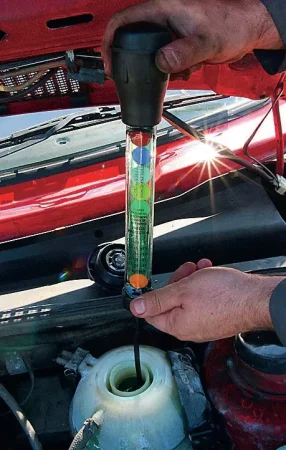
The correct antifreeze mix in a clean system will provide maximum cooling efficiency for your engine.
A healthy cooling system can seriously prolong the life of an engine and its head gasket. Use a good flushing agent as old antifreeze and new can sometimes react to form a jelly-like substance that will block the pipework. Take care when undoing hoses.
You’ll be needing:
– Large adjustable pliers if hoses are held by snap clamps– Screwdriver if hoses are held by worm-drive clips
– Radiator Hose Tool
– Disposable Gloves or Mechanic Gloves
– Block Tester
– Antifreeze Tester
– Water Repellent
– Stay Cool
– Radiator Flush
– Water tray
– Garden hose
Skill: Novice
Time: One hour
Cost: £20 – £40
Before changing coolant it’s a good idea to check the car’s head gasket’s not gone, allowing exhaust gasses through from the combustion chamber to the engine’s water jacket. For Quick Head Gasket Check, click here.
Always catch the old coolant in a container and dispose of it at a recycling centre.
The Steps
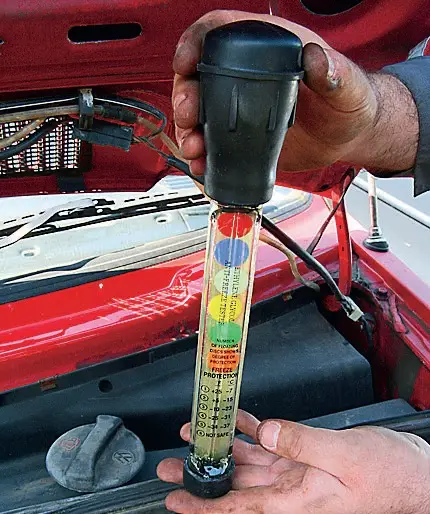
1. Anti-freeze Tester result seemed good but six discs means the antifreeze mix is so low there’s no protection. Time for a flush/fill.
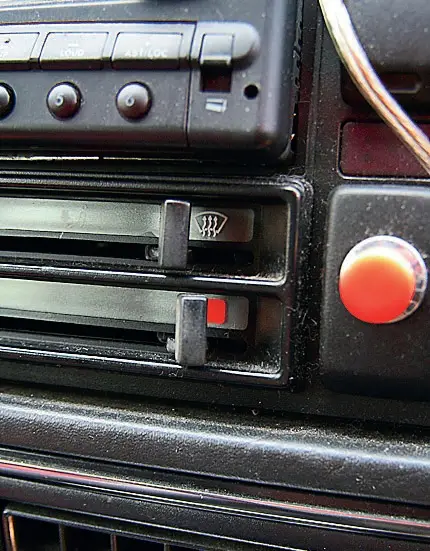
2. Make sure the heater control is set to hot or the matrix won’t get flushed.
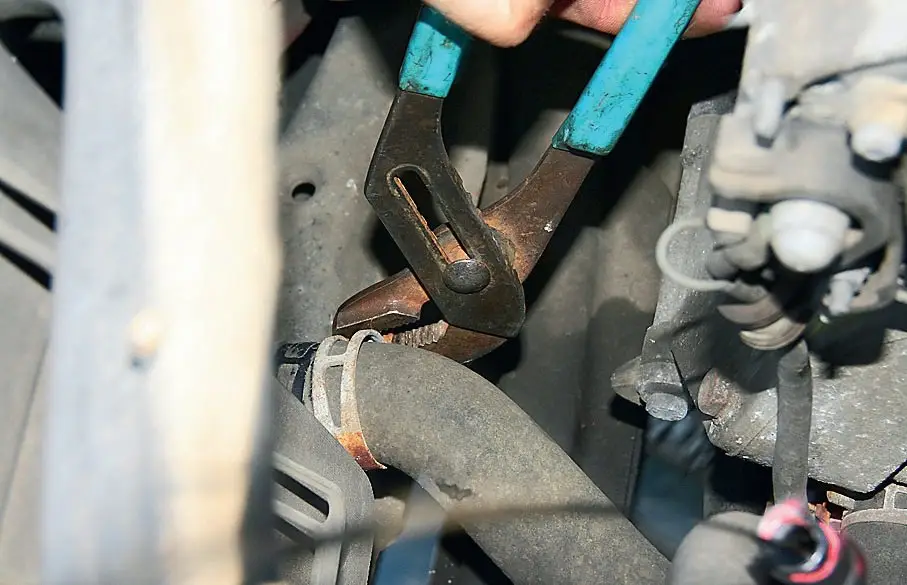
3. On the VW Golf, hoses are held by these clamps, many cars will have worm-drive clips. With the engine as cold as possible undo the bottom hose on the radiator.
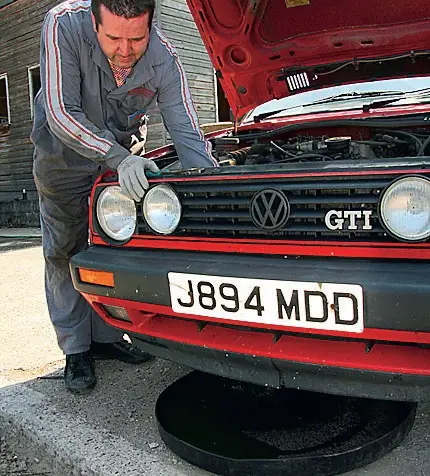
4. Always drain used antifreeze into a container and dispose of it a local recycling centre… or the environment police will get you.
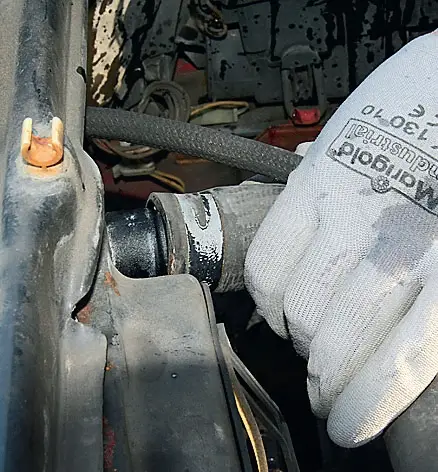
5. Wear gloves to avoid scalding if the engine is anything other than cold. A ‘cool’ engine can still contain pretty hot water. Remove hose.
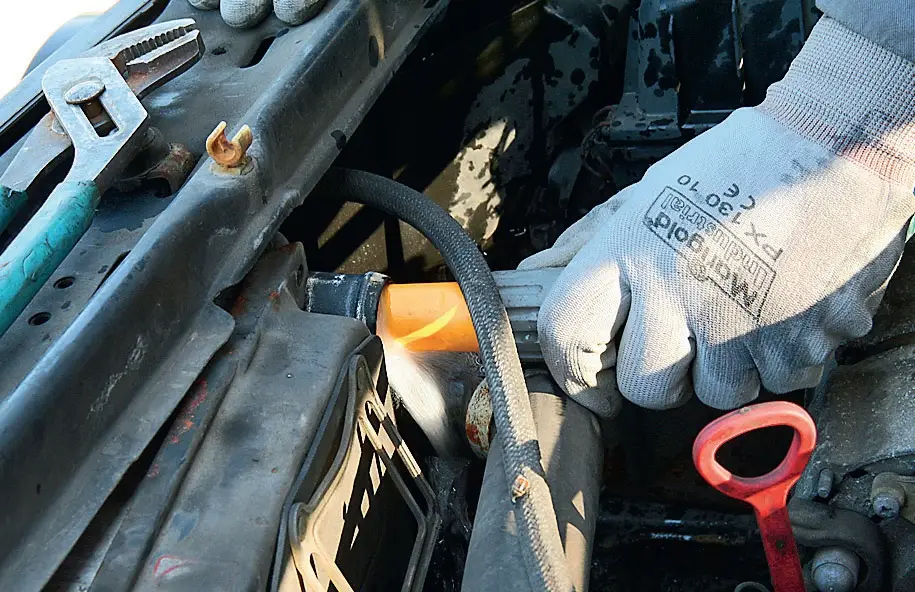
6. Once all the coolant has run from the radiator, remove the top hose and flush the radiator with a hose. Try to get a good seal with the hose or it’ll spray all over you like this!
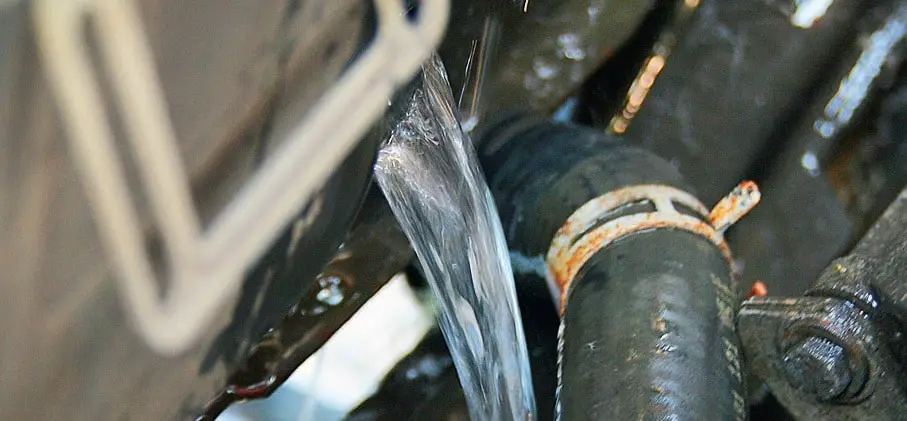
7. Keep going until the water coming from the bottom outlet runs clear, then move the hose to that bottom outlet and reverse flush the radiator bottom to top.
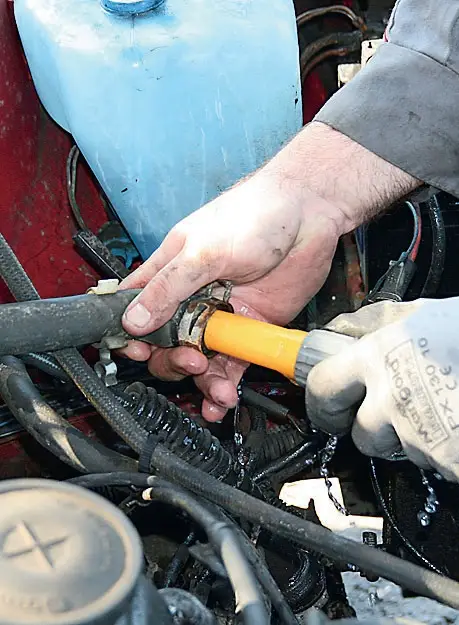
8. Repeat the flushing process for the engine block and the heater matrix. It’s important to flush from both sides of the thermostat which will be closed.
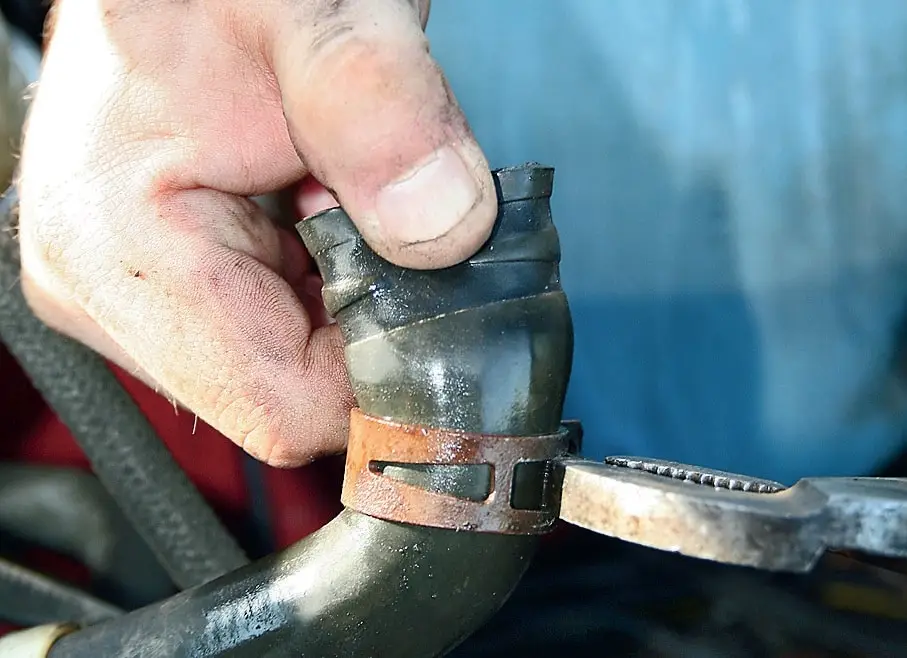
9. Take the time to check out all the hoses while they’re disconnected. Splits can occur where the clamp sits and old hoses perish along the length.
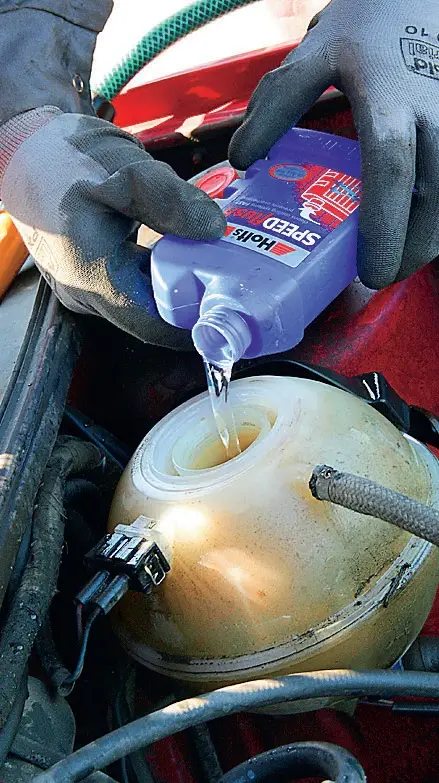
10. Reconnect all hoses, and add a bottle of radiator flush
The VW clamps work well but should be replaced with Jubilee clips if they feel slack.
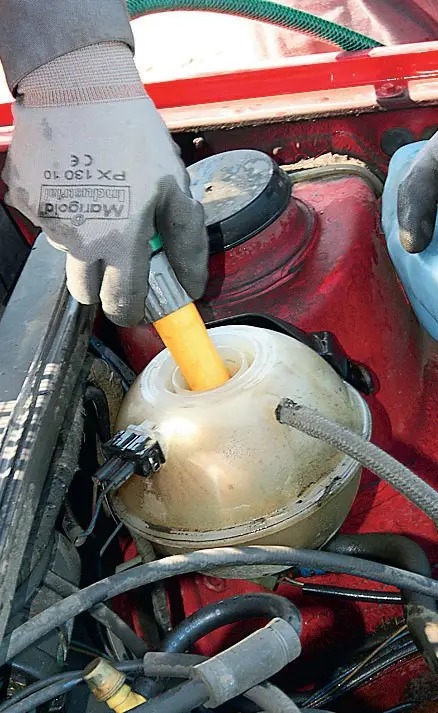
11. Fill the system to the maximum mark on the expansion tank.
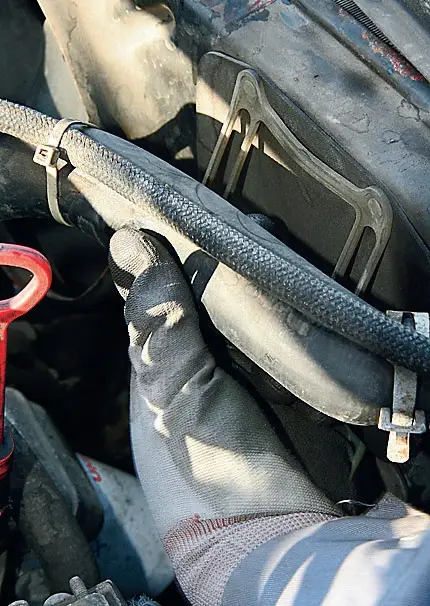
12. While the car is warming up, squeeze the hoses to push any air out of the system. Run car until hot, leave to cool and drain system again
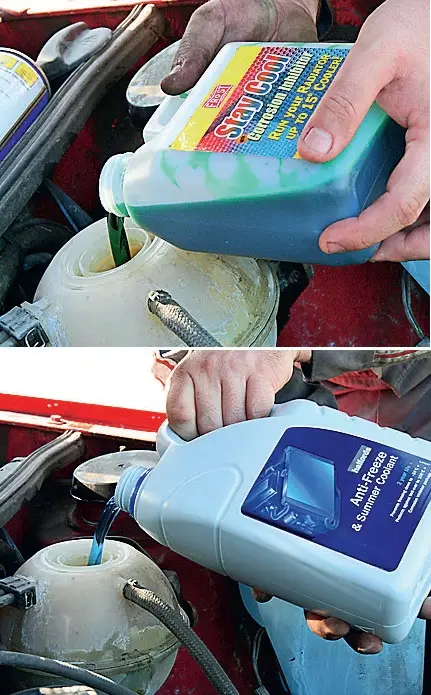
13. For final fill add 50% antifreeze mix (50/50 will protect down to -34°C) and Stay Cool, which improves heat transfer and inhibits rust.
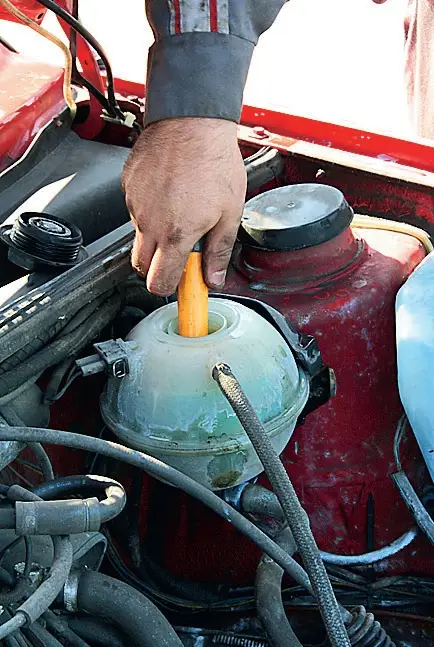
14. Fill to maximum mark, replace cap and run to for 10 minutes. Recheck level and top up as required.(Check again after a couple of journeys.)
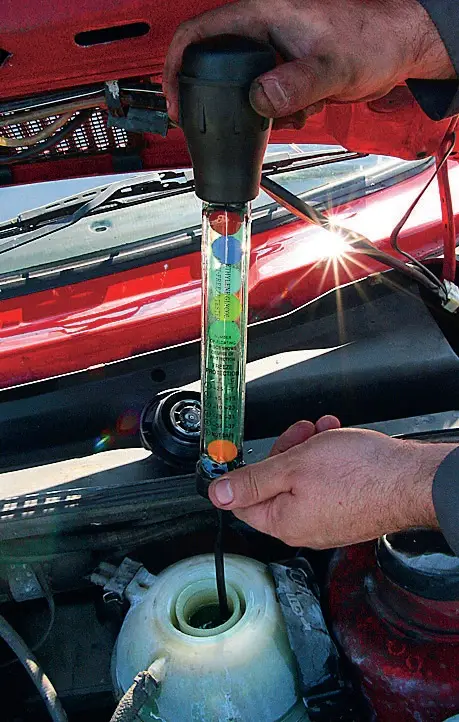
15. Five discs is a good result and means the cooling system is fully protected. As water has been spraying about the engine bay it’s a good idea to spray the ignition components with a water repellent before driving.
