Have you heard about Gunson Colortune Kit and how to use it? Paul Grace of RealClassic Magazine explains and demonstrates an interesting bit of kit…
Tinkering or fettling, they are lovely words. They inspire a sense of competent non threatening servicing, to be enjoyed with a mug of strong coffee and the dulcet tones of Radio 4 serenading in the background of a snug and purposeful shed. Hold that thought. It’s wonderful when your motorcycle is working and requires no major maintenance work, leisure time can be spent perfecting its running and keeping its cosmetics in good order. No rush to get that engine back together or that clutch replaced before the annual marque club summer rally and drinkathon. Instead, some quality fettling time with little risk of failure and ridicule from your chums.
One such fettling task is adjusting the carburetor on the old faithful. A nice tweaking job if you have the right tools. Many people suggest using ‘plug chops’ to set up the fuelling on old motorcycles, a technique that involves riding the motorcycle under load at four different speeds between idle and full throttle, then killing the ignition, coasting hopefully quite elegantly to a halt, scalding your fingers pulling the plug and examining its burnt colour, then refitting a new clean plug for the next run. Not an easy or safe task and not all that useful these days with our unleaded petrol.
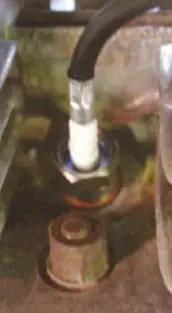
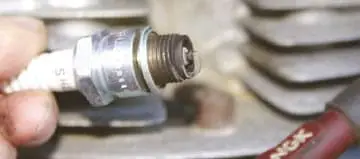
For a small sum of money it is possible to purchase a Colortune kit to actually look inside the combustion chamber, gasp, and see the colour of the flame front. Thus it becomes easy to understand and adjust the fuelling, noting the visual effect that adjustments have on the colour of the combustion. I got my Colortune from www.frost.co.uk who also stock low cost adaptors so it can be used on other vehicles too. The 14mm size is usually the most useful one. To use the Colortune kit and make adjustments, firstly, warm up the motorcycle so it can idle without using choke, and then remove the spark plug (Spark Plug Terminal Pliers). As you can see from the example in the photo this motorcycle seems to be set up fairly correctly anyway with the plug colour showing a nice beige tone.
If the plug is dry sooty then you may have a fault with excessive fuelling; if it is oily then possible engine wear may make adjustments difficult.
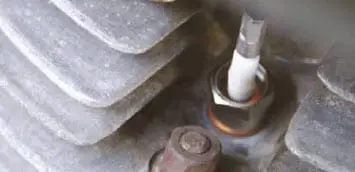
In place of the normal spark plug you screw in the Colortune transparent plug. It only needs to be just a fraction more than finger tight, so take care not to over-tighten it!
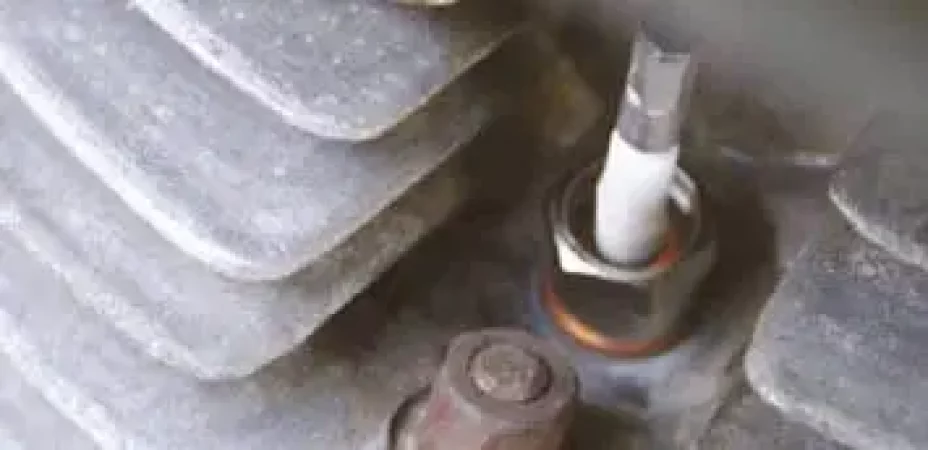
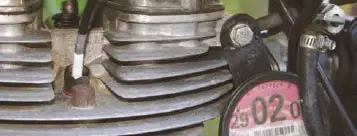
Next, screw the HT extension lead into the plug; the other end connects to the spark plug cap. The insulator on the Colortune plug is glass rather than ceramic, so you can look down into the centre of the plug and actually see the combustion taking place.
With the engine running just above idle speed you can clearly see an orange glow on the inside of the spark plug. Just a fraction of a turn anti-clockwise on the air-screw on the side of the Amal concentric carburettor enables you to trim the colour of the combustion to the correct blue hue.
Too far and the colour will turn white, indicating a lean burn situation. You can use the Colortune to check the combustion at other engine speeds too, rather than just at slow idle.
The instructions that come with the kit describe what to expect at various throttle openings to perhaps diagnose an incorrect main jet or slide or even a defective accelerator pump on such equipped carburettors.
I tend to prefer using my experience and ‘feel’ to set these up or if it’s a complex problem, then using a Dyno rolling road with an air : fuel ratio print out at a local specialist. However, for most simple classic motorcycles the Colortune should be more than adequate.
It’s especially useful when faced with twin carb motors. Each airscrew can be set spot on using the Colortune, then, idling balanced using an air gauge.
