Almost anytime you try to add a wide or deep bead to a thin piece of metal; or multiple beads to the same piece, you will find the metal starts to deform or warp. You may get perfect beads in the piece you’re working on, but it suddenly looks like a metal potato chip. That is because the bead roller stretches the metal as it presses beads into it. If you have an English wheel you can fix this problem before you begin. This problem is especially bad when rolling beads that don’t go all the way to the edge, or rolling different length beads in the same panel. Follow along as we show you a simple way to keep your panel straight when bead rolling.
Standard Bead Rolling:
Mark on the panel where you want to roll beads.
Make sure to tighten the bead roller to the same position for each bead. I like to pick a position of the adjustment screw and always start and stop at the same spot each time. By doing this you can count the number of spins of the adjustment screw to get the same depth bead each time.
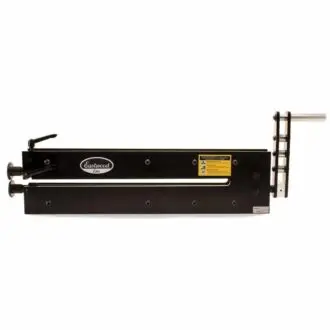
Once I had the dies in the Eastwood Power Bead Roller adjusted to the desired depth I ran three beads in the 20 gauge steel panel.
These three beads deformed the panel in 2 directions in a way that is very hard to undo without ruining the perfectly formed beads you just rolled into it.
The Remedy:
Now let’s try it again, but first we’ll stretch the area where the beads are going to be just a little with an English wheel beforehand.
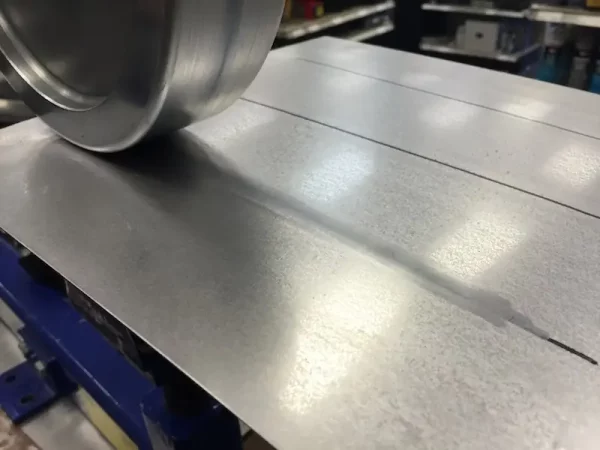
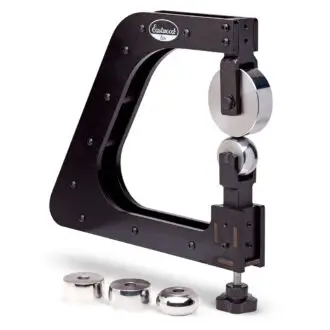
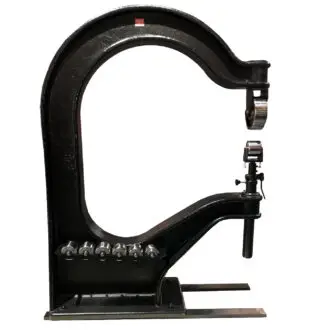
1) Start by installing the lower die with the highest crown in your English wheel, and mark out your desired lines for your beads. Then install the panel in the wheel with the the crown on the lower wheel centred on the bead line. Tighten the wheel down so that there is moderate pressure on the panel.
2) Wheel the area of the bead, keeping your passes very close together, while staying within a 1/4″ of either side of your line. Since the bead takes metal from the edges when it forms, the English wheel can solve the problem by stretching the metal in that area so that there is more to steal without deforming the whole panel.
There will now be a little bit of a bulge in the panel where we wheeled it, but it doesn’t have to be as large or deep as the bead you want to put into it.
3) Now, do the same thing anywhere you are going to roll a bead into the panel. You are left with a panel that is bent and deformed much the same way it would be after the 3 beads were rolled into it.
You may have to straighten the panel with your hands in order to get it into the bead roller.
4) Now roll the beads in the panel like the first time, pressing the newly stretched areas back down the opposite way from how they are stretched.
If you have done it right, after rolling 3 beads into the panel it should be very close to flat once again.
The final result is a panel flat enough to be easily welded into your project without having to fight the warpage from bead rolling. The panel might not be quite perfectly flat, but it should be close enough to be easily corrected by hand or by the shrink created when welding it.
Like everything with metal fabrication, practice makes perfect and you will want to practice pre-stretching with the English wheel in order to learn exactly how much you need for a given bead shape or metal thickness. This can also be done by hand without an English wheel by hammering on-dolly on the same area you’d roll in the wheel. But do realise that it takes significantly longer to get the same stretch you’d get in a wheel in a few passes.
