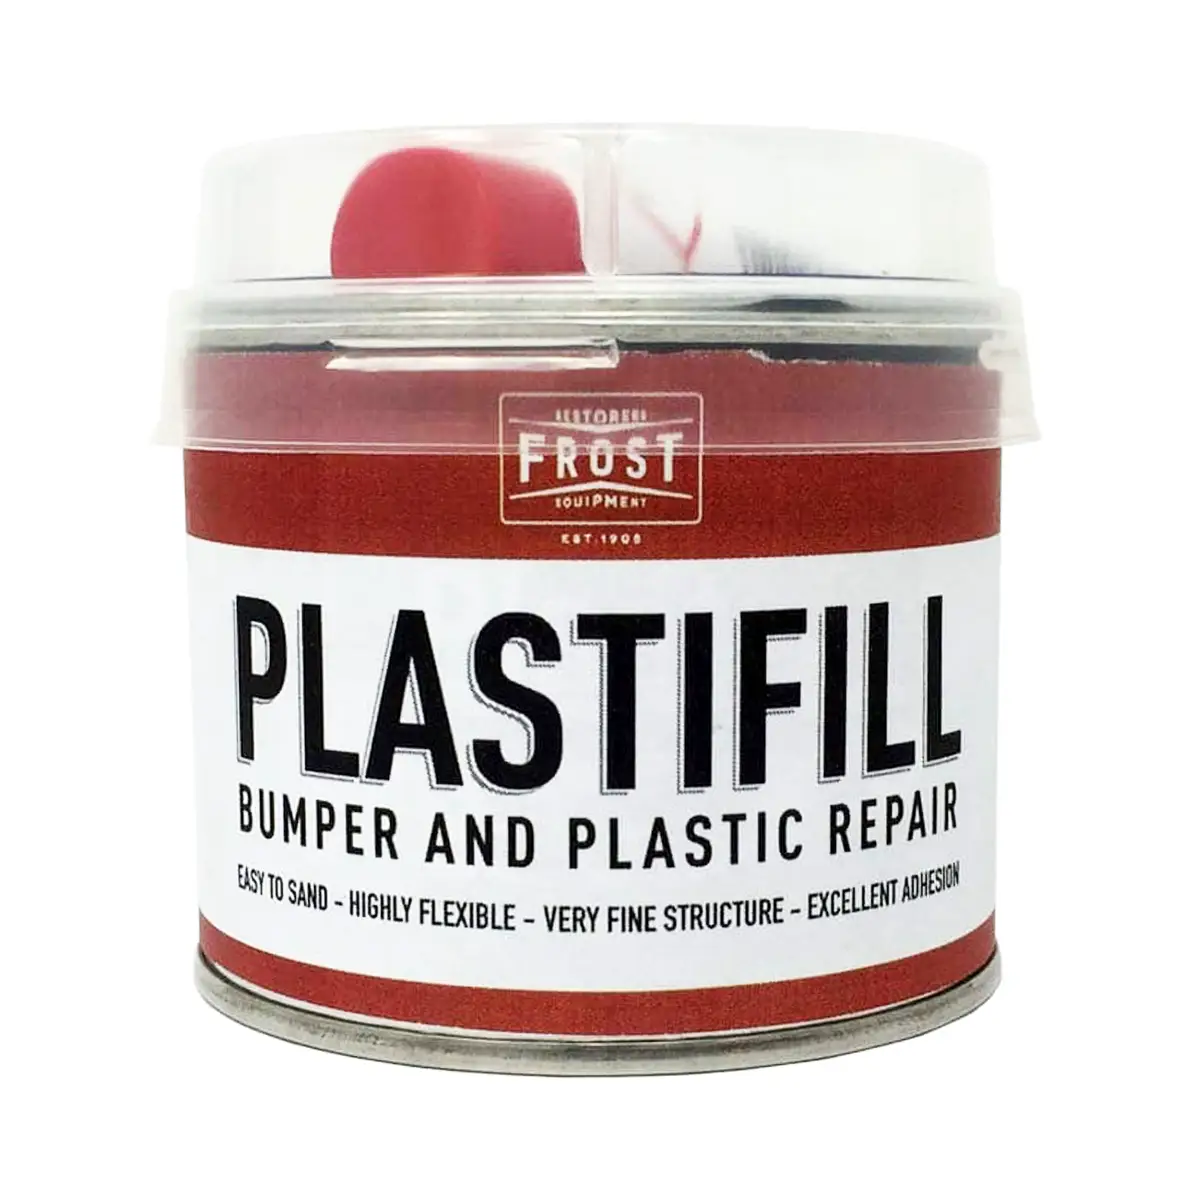
Plastifill – Bumper and Plastic Repair
B270£11.99
Frost Plastifill – Bumper and Plastic Repair
In stock
Frost Plastifill Repair Guide:
Step 1: Clean the Damaged Area
Washing the flexible bumper repair area can make all subsequent steps faster and easier, and help ensure a complete, professional repair.
WE recommends cleaning the entire bumper with soap and water, followed by a VOC compliant surface cleaner to eliminate any additional contaminants. Cleaning the entire bumper can also help you identify any hidden damage. Use a dedicated microfiber detail cloth for each cleaning agent.
Step 2: Initial Prep Sand
Here, you will start to refine the repair area and prepare the plastic bumper for flexible filler material. Using a dual action sander with an 80 grade abrasive disc, dish out, or taper, the damaged area to create a slightly lower area in the surface. Be sure to keep the 80 grade abrasive scratches within the dish-out area.
Refine the 80 grade scratches surrounding the dish-out area with a DA sander and a grade 180 abrasive disc, removing the paint and extending the feathered area 2 to 3 inches beyond it. It’s important to provide this extra surface space for flexible filler, as applying any flexible filler beyond the repair edge can result in repair mapping.
Step 3: Mix and Apply Flexible Filler
Mix and apply the flexible filler with a “tight coat” first to ensure the substrate is fully wetted-out with adhesive. Then build up the area with thin wet-on-wet flexible filler coats. Make sure to keep the flexible filler within the repair area to prevent repair mapping.
Allow the flexible filler to cure for 15 minutes at 75°F before sanding.
Step 4: Sand Flexible Filler
Sand the flexible repair material using a hand block and a 150 grade abrasive sheet, or a dual action sander at low speeds and a 150 grade abrasive disc to avoid excessive heat. You can approach this process very similarly to sanding polyester filler on metal.
Following the 150 grade abrasive, hand block sand or DA sand with a 180 grade disc or sheet.
Step 5: Final Sand and Inspect
Finish sand the flexible bumper repair and the surrounding feather area using a DA sander and a 320 grade abrasive disc. Blow off with clean, dry compressed air and inspect the repair for quality.
If additional repair is needed, return to Step 3 and apply additional adhesion promoter to the bumper repair area. Follow with flexible filler application, sanding and final sanding. We advise filling pinholes with the same flexible repair material to ensure compatibility. Repeat these steps as necessary. Refer to paint company recommendations for refinishing plastic parts.
| Weight | 0.25 kg |
|---|---|
| Brand |
Only logged in customers who have purchased this product may leave a review.
Reviews
There are no reviews yet.